Mobile:+86-311-808-126-83
Email:info@ydcastings.com

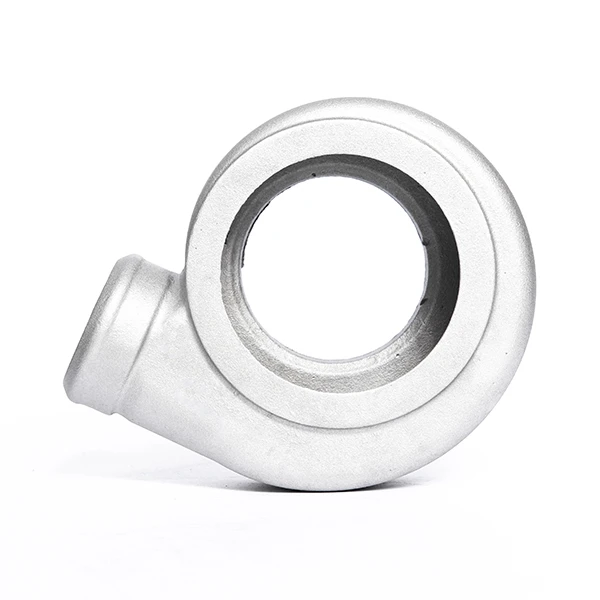
how to cast brass in sand
How to Cast Brass in Sand A Step-by-Step Guide
Casting brass in sand is a popular method in metalworking that combines art and precision. This technique allows for the production of intricate shapes and designs that are often difficult to achieve through other methods. In this article, we'll walk you through the process of sand casting brass, detailing the necessary steps, materials, and safety measures.
Materials Needed
1. Brass Alloy Select high-quality brass for casting. Common brass alloys include C36000 and C38000, which offer excellent fluidity and strength. 2. Sand Use specifically refined sand, such as silica sand, mixed with a binding agent like clay. This mixture helps the sand retain its shape when packing. 3. Casting Flask A frame that holds the sand mold during the pouring process. 4. Pattern A model of the object you want to cast, typically made of wood or metal, which will create the cavity in the sand. 5. Molten Metal Furnace A furnace to melt the brass alloy. 6. Pouring Tools Crucibles and ladles to handle molten metal. 7. Safety Gear Gloves, goggles, and protective clothing to ensure safety during the casting process.
Step-by-Step Procedure
Step 1 Create the Pattern
Start by crafting a pattern of the item you want to cast. Ensure that it is accurately shaped and smooth, as this will determine the final product's dimensions and finish. The pattern can be made from wood, metal, or plastic, depending on the detail required.
Step 2 Prepare the Mold
1. Set Up the Flask Place the casting flask on a flat surface. Coat the inside of the flask with a release agent to facilitate easy removal of the mold. 2. Pack the Sand Mix the sand with clay and water to create a damp but cohesive mixture. Fill half of the flask with sand, then place the pattern on top. 3. Cover the Pattern Add more sand to cover the pattern completely. Use a tamper or your hands to tightly pack the sand around the pattern. 4. Create the Parting Line If your item requires more than one mold half, create a parting line with a sharp tool to ensure both halves can be separated easily.
Step 3 Remove the Pattern
Carefully remove the pattern from the sand. This will leave a negative impression that will be used for the casting. Ensure not to disturb the structure of the sand.
how to cast brass in sand
Step 4 Pour the Molten Brass
1. Melt the Brass Heat the brass alloy in a furnace until it reaches a temperature above its melting point (around 900°C or 1650°F). 2. Prepare for Pouring Once the brass is molten, use protective gear and pouring tools to transfer it carefully to the mold. 3. Pour Slowly and steadily pour the molten brass into the mold cavity. Fill it to the top, ensuring there are no air pockets.
Step 5 Allow to Cool
Let the brass cool and solidify in the mold. Cooling times can vary based on the size of the cast piece.
Step 6 Finish the Casting
Once cooled, carefully separate the sand mold and remove the cast piece. Clean it to remove any sand residues, and perform any necessary finishing touches such as sanding, polishing, or machining to achieve the desired surface quality.
Safety Considerations
Always prioritize safety by wearing gloves and goggles, ensuring good ventilation in your workspace, and being cautious when handling molten metal to prevent burns or injuries.
Conclusion
Casting brass in sand can be a rewarding process, combining creativity with technical skill. By following these steps and taking appropriate safety measures, you can produce beautiful and functional brass objects tailored to your specifications. Whether crafting decorative pieces or functional components, mastering sand casting opens up a world of possibilities in metalworking.
-
Understanding Metal Casting TechniquesNewsApr.02,2025
-
Understanding Exhaust Manifolds for Enhanced Engine PerformanceNewsApr.02,2025
-
The World of Metal FabricationNewsApr.02,2025
-
Key Components for Pump and Turbo EfficiencyNewsApr.02,2025
-
Essential Tools for Automotive Maintenance and RepairNewsApr.02,2025
-
Durable Valve Components for Effective Water ManagementNewsApr.02,2025


