Mobile:+86-311-808-126-83
Email:info@ydcastings.com
die casting step by step process
The Die Casting Process A Step-by-Step Guide
Die casting is a powerful manufacturing process used to create complex metal parts with high precision and excellent surface finishes. Commonly employed in industries such as automotive, aerospace, and consumer electronics, die casting allows for the mass production of detailed components. This article provides a comprehensive overview of the die casting process step by step.
Step 1 Design and Material Selection
The first step in the die casting process is the design of the component. This includes creating detailed specifications for size, shape, and material requirements. Typically, die casting is conducted using non-ferrous metals such as aluminum, zinc, magnesium, and copper alloys due to their favorable properties like low melting points and excellent fluidity. Engineers will also consider factors such as thermal conductivity, corrosion resistance, and mechanical strength during this stage.
Step 2 Die Preparation
Once the design is finalized, the next step involves preparing the die—essentially a mold made of hardened steel. The die is carefully crafted to match the specifications of the part to be produced. This process may involve CNC machining to ensure the highest precision. Dies are typically made in two parts the cover die and the ejector die, which work together to shape the molten metal as it cools.
Step 3 Melting and Injection
After the die is prepared, the chosen metal alloy is melted in a furnace. The melting temperature varies depending on the material but is typically between 600 to 700 degrees Celsius (1112 to 1292 degrees Fahrenheit). Once the metal reaches a molten state, it is injected into the die under high pressure, usually ranging from 1000 to 20,000 psi. The injection speed is critical; too fast can cause defects, while too slow may yield incomplete fills.
Step 4 Cooling
die casting step by step process
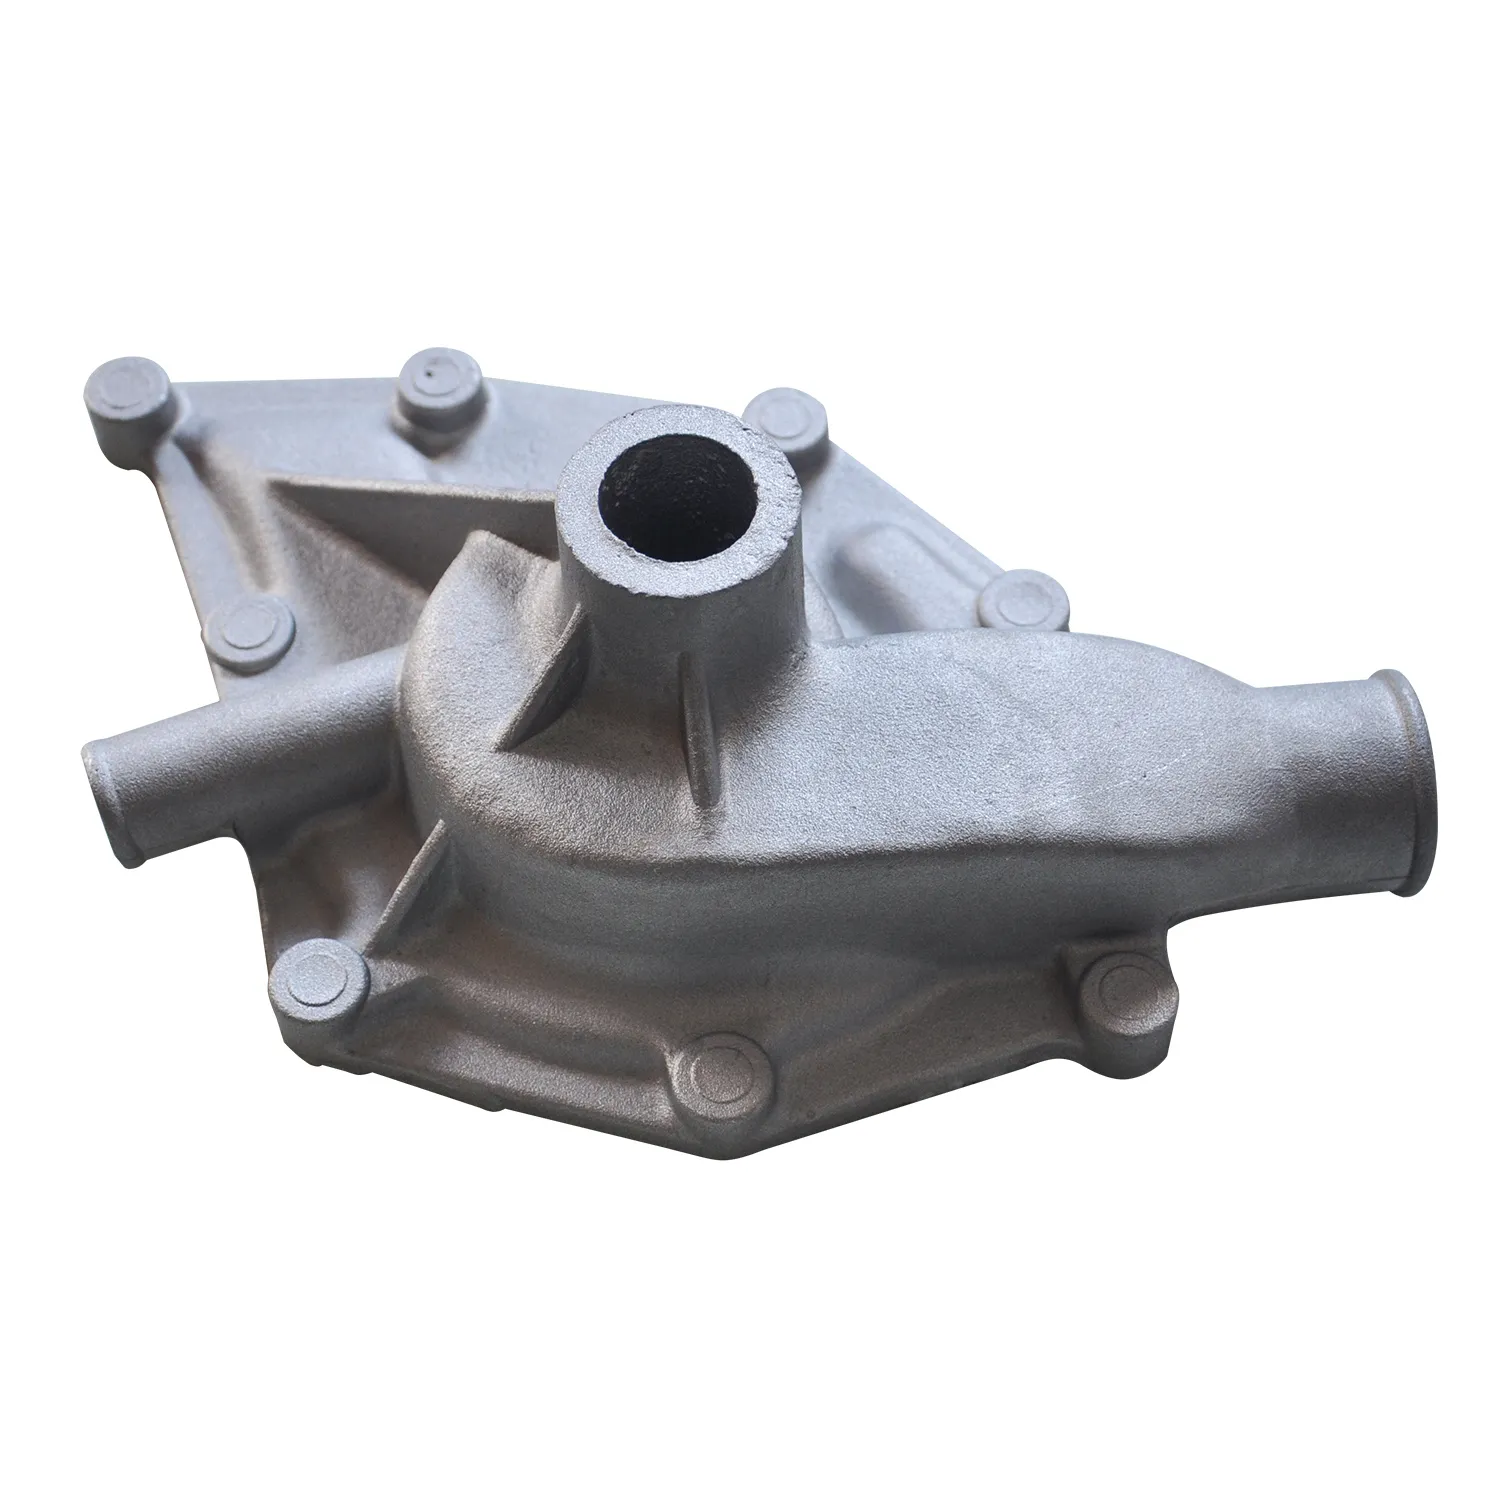
As the molten metal fills the die, it begins to cool and solidify. The cooling process happens quickly, allowing for high production rates. The duration of this cooling period depends on the material and complexity of the part. Adequate cooling ensures that the part retains its shape and dimensional accuracy. Manufacturers often use cooling channels within the die to enhance heat dissipation during this phase.
Step 5 Ejection
Once the metal has cooled and solidified, the die opens, and the newly formed part is ejected. This step typically involves a series of ejector pins that push the part out of the die. Successful ejection is crucial; if done improperly, the part can become damaged, or the die can sustain wear. It is at this stage that any flash (excess material) is removed, either manually or through automated processes.
Step 6 Finishing Operations
After ejection, the die-cast part may require additional finishing operations to enhance its appearance and performance. These processes can include trimming, machining, polishing, and surface treatments such as anodizing or painting. Finishing not only improves aesthetic qualities but also increases corrosion resistance and overall durability.
Step 7 Quality Control
The final step in the die casting process is quality control. Each produced part undergoes thorough inspections to ensure it meets the specified tolerances and standards. Techniques such as dimensional checks, visual inspections, and non-destructive testing are used to identify any defects. This ensures that only high-quality parts are delivered to customers.
Conclusion
Die casting is a highly efficient method for producing complex metal components. By following these seven steps—design and material selection, die preparation, melting and injection, cooling, ejection, finishing operations, and quality control—manufacturers can ensure the development of high-quality parts that meet the rigorous demands of various industries. With advancements in technology and materials, the future of die casting continues to evolve, promising even greater efficiencies and quality in manufacturing.
-
Why Should You Invest in Superior Pump Castings for Your Equipment?NewsJun.09,2025
-
Unlock Performance Potential with Stainless Impellers and Aluminum End CapsNewsJun.09,2025
-
Revolutionize Your Machinery with Superior Cast Iron and Aluminum ComponentsNewsJun.09,2025
-
Revolutionize Fluid Dynamics with Premium Pump ComponentsNewsJun.09,2025
-
Optimizing Industrial Systems with Essential Valve ComponentsNewsJun.09,2025
-
Elevate Grid Efficiency with High-Precision Power CastingsNewsJun.09,2025

