Mobile:+86-311-808-126-83
Email:info@ydcastings.com
Techniques for Successfully Casting Objects in Bronze for Beginners and Professionals
How to Cast in Bronze A Step-by-Step Guide
Bronze casting is an age-old technique that has been developed and refined over thousands of years. This method allows artists and artisans to create intricate sculptures, bells, and utensils, resulting in durable and aesthetically pleasing finished products. If you’re looking to delve into the world of bronze casting, this guide will walk you through the essential steps involved in the process.
1. Understanding Bronze
Before you even begin casting, it's important to understand what bronze is. Typically, bronze is an alloy made primarily of copper, with tin being the most common additive. Depending on the desired characteristics, other metals, such as aluminum or phosphorus, can also be mixed in. The resulting bronze has a strong resistance to corrosion and an attractive appearance, making it a favored material for many artistic and practical applications.
2. Designing Your Sculpture
The first step in the casting process is designing your sculpture or object. Artists often create a model in a more malleable medium like clay or wax. This model will serve as the basis for the cast. The design phase involves not just the aesthetic aspects but also considerations for how the metal will flow during casting and how the finished piece will stand and balance.
3. Creating a Mold
Once your model is ready, the next step is to create a mold. This is usually done in two parts a negative mold that captures the details of the model. A common method involves encasing the model in a material such as plaster or a silicone compound. For larger pieces, a sand mold may be used. After the mold is created, it’s essential to allow it to cure properly, ensuring it is sturdy enough to withstand the molten bronze.
how to cast in bronze
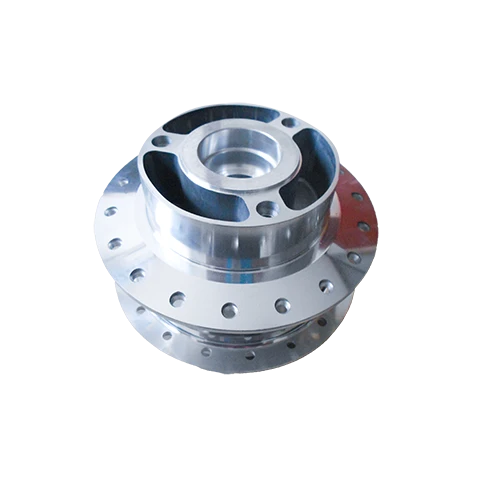
While the mold is curing, you can prepare the bronze. The bronze alloy is usually sold in the form of ingots. Heat a furnace to around 1,700 degrees Fahrenheit (about 930 degrees Celsius) to melt the bronze. Safety precautions are critical here; wear protective gear, including heat-resistant gloves, goggles, and a face shield. Use a crucible that can withstand high temperatures and ensure your work area is well-ventilated.
5. Pouring the Bronze
Once the bronze is fully melted, it’s time to pour it into the mold. Carefully lift the crucible, and slowly pour the molten bronze into the mold's opening, taking care not to spill. It is advisable to let it overflow slightly to ensure that all air bubbles are eliminated and the mold is completely filled. The pouring should be methodical to maintain consistency and avoid splash-back.
6. Cooling and Demolding
After pouring, the bronze needs time to cool and solidify. This can take several hours or more, depending on the size of the casting. Once cool, the mold is then removed to reveal your bronze sculpture. This may involve breaking away a plaster mold or gently separating a sand mold from the bronze.
7. Finishing Touches
With the bronze casting completed, you may notice rough edges or surface imperfections. Use various tools, from grinders to files, to smooth out the surface and refine the details. Patinas can also be applied at this stage to enhance the color and finish of the bronze, giving it a distinctive look.
8. Final Thoughts
Bronze casting is a rewarding but intricate art form that requires patience, practice, and attention to detail. While the process might seem daunting, each step you take brings you closer to creating a unique piece of art. Whether you’re a seasoned artist or a newcomer to the craft, casting in bronze opens a world of possibilities for creative expression. With dedication and experimentation, you can master this ancient technique and bring your artistic visions to life.
-
Why Should You Invest in Superior Pump Castings for Your Equipment?NewsJun.09,2025
-
Unlock Performance Potential with Stainless Impellers and Aluminum End CapsNewsJun.09,2025
-
Revolutionize Your Machinery with Superior Cast Iron and Aluminum ComponentsNewsJun.09,2025
-
Revolutionize Fluid Dynamics with Premium Pump ComponentsNewsJun.09,2025
-
Optimizing Industrial Systems with Essential Valve ComponentsNewsJun.09,2025
-
Elevate Grid Efficiency with High-Precision Power CastingsNewsJun.09,2025

