Mobile:+86-311-808-126-83
Email:info@ydcastings.com
copper pipe cap
Understanding Copper Pipe Caps An Essential Component in Plumbing
When it comes to plumbing and piping systems, the importance of using the right components cannot be overstated. One such crucial component is the copper pipe cap. This article will delve into what copper pipe caps are, why they are used, their benefits, and how to properly install them.
What are Copper Pipe Caps?
Copper pipe caps are fittings that are used to seal the end of a copper pipe. They come in various sizes to accommodate different diameters of piping, providing a snug fit to prevent leaks and protect the interior of the pipe from dust, debris, and moisture. These caps are typically made of high-quality copper, which is known for its durability and resistance to corrosion.
Why Use Copper Pipe Caps?
1. Leak Prevention One of the primary reasons to use copper pipe caps is to prevent leaks. When pipes are not being used or are capped off during installation, these caps ensure that no water escapes, which is vital for maintaining the efficiency and integrity of the plumbing system.
2. Protection Against Contaminants Copper pipe caps safeguard the openings of your pipes from contaminants. By capping off unused pipes, you can prevent dirt and debris from entering, which could lead to blockages or other plumbing issues down the line.
3. Durability Copper is a robust material that can withstand high pressures and temperatures, making copper pipe caps a reliable choice for both residential and commercial plumbing applications. Their longevity means that once installed, you won’t have to worry about replacing them frequently.
4. Easy Installation Copper pipe caps are relatively easy to install, making them a popular choice among both amateur DIYers and professional plumbers. With the right tools and a bit of know-how, capping a pipe can be done quickly and efficiently.
Installation of Copper Pipe Caps
Installing a copper pipe cap may seem daunting, but it can be a straightforward process if you follow these steps
copper pipe cap
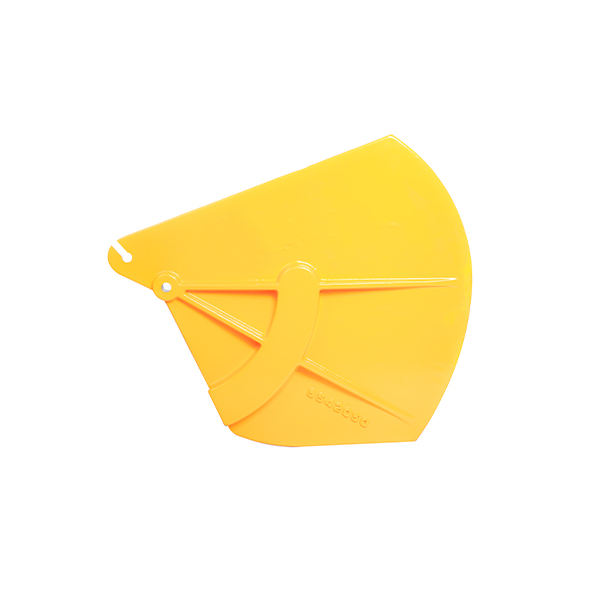
1. Gather Your Materials You will need a copper pipe cap that fits the diameter of your pipe, a copper pipe cutter, and a propane torch with solder. You may also need flux and solder for a secure connection.
2. Cut the Copper Pipe If the pipe is already installed, ensure that it is empty and disconnected from any water supply. Use the copper pipe cutter to make a clean cut on the pipe end where you want to install the cap.
3. Clean the Ends Use a wire brush or emery cloth to clean the cut ends of the pipe. Remove any dirt or oxidation to ensure a good solder joint.
4. Apply Flux Brush a thin layer of soldering flux both inside the pipe cap and around the end of the copper pipe. This helps the solder flow and bond properly.
5. Position the Cap Place the cap over the end of the pipe, ensuring it fits snugly.
6. Heat with a Torch Use the propane torch to heat the cap evenly, moving the flame around its circumference.
7. Solder the Joint Once the cap reaches the right temperature, touch the solder to the joint. It should melt and flow into the gap between the cap and the pipe. Allow it to cool before testing for leaks.
8. Final Inspection After the joint has cooled, inspect it carefully. Look for any gaps or imperfections where water could potentially leak.
Conclusion
Copper pipe caps are an essential component in plumbing systems, offering leak prevention, protection from contaminants, and long-lasting durability. Understanding how to properly install them can save you time and money, ensuring that your plumbing system remains efficient and effective. Whether you are a homeowner or a professional, mastering the use of copper pipe caps can help you maintain a reliable plumbing network.
-
Why Should You Invest in Superior Pump Castings for Your Equipment?NewsJun.09,2025
-
Unlock Performance Potential with Stainless Impellers and Aluminum End CapsNewsJun.09,2025
-
Revolutionize Your Machinery with Superior Cast Iron and Aluminum ComponentsNewsJun.09,2025
-
Revolutionize Fluid Dynamics with Premium Pump ComponentsNewsJun.09,2025
-
Optimizing Industrial Systems with Essential Valve ComponentsNewsJun.09,2025
-
Elevate Grid Efficiency with High-Precision Power CastingsNewsJun.09,2025

