Mobile:+86-311-808-126-83
Email:info@ydcastings.com
Effective Techniques for Cold Casting and Mould Making Success
Successful Cold Casting and Mould Making A Comprehensive Guide
Cold casting is a fascinating technique widely used in art, DIY projects, and industrial applications. This method allows creators to achieve high-quality results without the extensive equipment required for traditional casting methods. In this article, we will explore the steps to successful cold casting and mould making, highlighting the key aspects that ensure top-notch results and maximize the potential of this versatile technique.
Understanding Cold Casting
Cold casting is a process that replicates a desired object using a combination of resin and a casting medium, such as metal powders or stone dust. The primary distinction between cold casting and traditional casting lies in the curing process. Unlike traditional methods that require high temperatures, cold casting can be accomplished at room temperature, making it more accessible and convenient for various applications.
The primary materials used in cold casting include polyurethane resin, metal powders, pigments, and the necessary tools for mould making. The choice of materials depends on the desired finish, weight, and durability of the final product.
Step-by-Step Guide to Cold Casting
1. Select Your Design Begin with a clear idea of what you want to create. It can be a sculpture, a functional item, or decorative art. Designing a prototype or sketching your idea will help clarify the process.
2. Create a Mould The success of your cold casting project starts with a well-made mould. You can use silicone, plaster, or polyurethane for creating moulds. Silicone is highly recommended for intricate designs due to its flexibility and durability. Follow these steps - Prepare your model by cleaning it to remove any dust or grease. - Coat the model with a release agent to ensure easy demoulding. - Mix your moulding material according to the manufacturer’s instructions and pour it over the model. Ensure that it fully encapsulates the object. - Allow the mould to cure completely before removing it from the original model.
3. Prepare the Casting Material Once you have your mould, prepare your cold casting material. This usually involves mixing the resin with your chosen casting medium. The proportions can significantly affect the end result, so it’s crucial to follow guidelines based on the desired look—more metal powder for a metallic finish, for example.
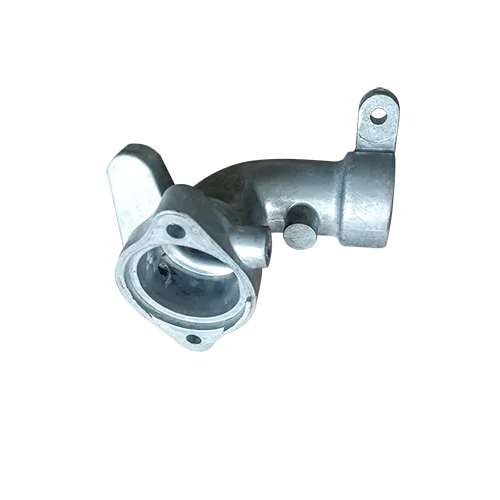
successful cold casting and mould making
4. Pouring the Solution Carefully pour your mixture into the prepared mould. To minimize air bubbles, pour slowly and along the side of the mould. If you notice any bubbles form, use a toothpick or a small tool to eliminate them before the resin starts to cure.
5. Allow for Curing Curing the mixture at room temperature is an essential step. Check the manufacturer's instructions for specific curing times. For best results, allow the item to cure undisturbed in a dust-free environment. This prevents any contamination or damage during the curing process.
6. Demoulding After the resin has fully cured, gently remove the cast item from the mould. If it’s a silicone mould, flex the mould carefully to release the casting. For rigid moulds, you may need to carefully cut the mould to free your cast without damaging it.
7. Finishing Touches Once demoulded, your cast may require sanding, polishing, or painting to achieve the desired finish. Use fine sandpaper to smooth edges and surfaces. If you want a specific look, consider applying varnish or additional pigment to enhance the appearance.
Quality Control and Tips for Success
- Environment Work in a well-ventilated area and control the temperature and humidity to ensure optimal curing. - Sizing and Proportions Always measure materials accurately to maintain consistency, especially with the resin and casting medium. - Experimentation Don’t hesitate to experiment with different combinations of materials and techniques. Each project brings new lessons.
Conclusion
Successful cold casting and mould making not only allow you to create beautiful and functional pieces but also encourage creativity and skilled craftsmanship. By following the outlined steps and embracing a mindset of exploration and learning, you can achieve remarkable results that may even surpass your initial expectations. Whether you are an artist, hobbyist, or professional, mastering this technique opens a world of possibilities in design and production. Happy casting!

