Mobile:+86-311-808-126-83
Email:info@ydcastings.com
Techniques for Casting in Bronze A Step-by-Step Guide for Beginners
How to Cast in Bronze A Comprehensive Guide
Bronze casting is an ancient art form steeped in history, used to create everything from intricate sculptures to durable tools and weapons. This alloy of copper, tin, and sometimes other metals has been a favorite for artisans due to its low melting point and excellent durability. If you’re interested in learning how to cast in bronze, this article will guide you through the essential steps of the process, tools required, and techniques employed.
Step 1 Understand the Basics of Bronze
Before you dive into the casting process, it’s essential to understand what bronze is. Traditionally, bronze consists of about 90% copper and 10% tin, but various alloys have different properties. Some may include small amounts of phosphorus, silicon, or aluminum, which can enhance the alloy’s durability and casting characteristics. Understanding these properties will help you choose the right alloy for your project.
Step 2 Create the Model
The first step in the casting process is to create a model of the object you wish to cast. This model can be made from various materials such as clay, wax, or even 3D-printed plastic. If you are using wax (a method commonly known as lost-wax casting), remember that the model will be melted away in the casting process, leaving a hollow mold.
Step 3 Make the Mold
Once your model is complete, you need to create a mold. For traditional methods, you can use a two-part mold made from plaster or sand. If using plaster, apply a release agent to prevent the mold from sticking to the model. When the mold is set, remove the model carefully to avoid damaging the mold structure. If you are using sand, pack the sand tightly around the model, ensuring all details are captured, and create a channel for pouring the molten bronze.
Step 4 Prepare for Pouring
Before you pour your bronze, you need to prepare the furnace and tools. A crucible is used to melt the bronze, and this can be done in a furnace that reaches temperatures of about 1,100 degrees Celsius (2,012 degrees Fahrenheit). Make sure to wear protective gear, including gloves, goggles, and an apron, as molten metal can be extremely dangerous.
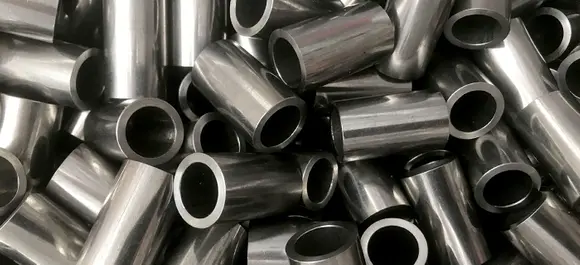
how to cast in bronze
Step 5 Melting the Bronze
Load your bronze alloy into the crucible and heat it until it is fully molten. It’s important to monitor the temperature closely and avoid overheating as this can cause undesirable properties in the final product. Stir the molten bronze gently to ensure even melting.
Step 6 Pouring the Bronze
Once the bronze is molten, it’s time to pour it into the mold. This step requires precision. Pour the bronze slowly and steadily, allowing it to fill the mold completely. Be cautious of splashes and ensure that the pouring process is done swiftly to prevent the temperature from dropping too much.
Step 7 Cooling and Removal
After pouring the bronze, allow it to cool and solidify. This process may take several hours, depending on the size of the casting. Once cooled, remove the mold carefully. If using a plaster mold, you may need to break it apart. With sand molds, tap gently to release the sculpture.
Step 8 Finishing Touches
After removing the casting from the mold, it’s time for some finishing work. This may involve grinding away any rough edges, polishing the surface, and even applying patinas to enhance the color and texture of the bronze. Various techniques can be used to achieve different finishes, from a smooth, shiny appearance to a textured, aged look.
Conclusion
Bronze casting is an intricate process that marries art and science. With careful planning and execution, you can create beautiful bronze objects that may last for centuries. Whether you are a seasoned artist or a novice craftsman, each casting will enhance your skills and deepen your appreciation for this timeless medium. Remember, practice makes perfect, so don’t be discouraged by early challenges—embrace them as part of the learning journey!
-
Understanding Metal Casting TechniquesNewsApr.02,2025
-
Understanding Exhaust Manifolds for Enhanced Engine PerformanceNewsApr.02,2025
-
The World of Metal FabricationNewsApr.02,2025
-
Key Components for Pump and Turbo EfficiencyNewsApr.02,2025
-
Essential Tools for Automotive Maintenance and RepairNewsApr.02,2025
-
Durable Valve Components for Effective Water ManagementNewsApr.02,2025

