Mobile:+86-311-808-126-83
Email:info@ydcastings.com
Techniques for Efficient Impeller Replacement in Pump Systems to Enhance Performance and Longevity
Replacing an Impeller A Comprehensive Guide
The impeller is a critical component in many types of machinery, especially in pumps, turbines, and various types of motors. It plays a vital role in converting rotational energy into fluid energy, thereby facilitating the movement of fluids through various systems. Over time, impellers can wear out, corrode, or become less efficient due to various factors. Replacing an impeller is essential to maintaining the efficiency and effectiveness of the machinery. This article will provide a comprehensive guide on how to replace an impeller safely and effectively.
Understanding the Importance of the Impeller
Before delving into the replacement process, it’s essential to understand why the impeller is so significant. The performance of an impeller directly affects the speed and pressure of the fluid being moved. A defective or worn-out impeller can lead to decreased performance, increased energy consumption, and even potential damage to the entire system. Therefore, regular inspections and timely replacements are crucial.
Signs of a Failing Impeller
Knowing when to replace an impeller can save time and prevent costly repairs. Common signs of a failing impeller include
1. Unusual Noises Grinding, rattling, or whirring sounds can indicate that the impeller is damaged. 2. Decreased Flow Rate If the flow rate is lower than usual despite the system running normally, it may be time to inspect the impeller. 3. Vibration Excessive vibration in the machinery may signify an imbalance caused by a malfunctioning impeller. 4. Visible Damage Cracks, chips, or significant wear on the impeller's blades are clear indicators that replacement is necessary.
Preparing for Impeller Replacement
Before you start the replacement process, gather the necessary tools and materials. Depending on the type of machinery, this may include
- A new impeller (ensure it is the correct size and type for your system) - Basic hand tools (wrenches, screwdrivers, pliers) - Safety gear (gloves, goggles) - Lubricants or sealants as needed
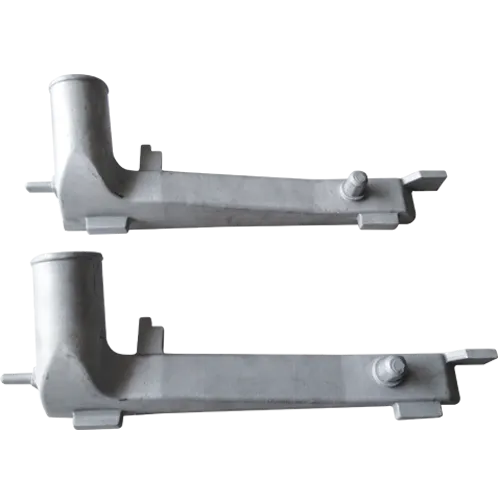
replacing impeller
Step-by-Step Replacement Process
1. Turn Off the Machine Ensure that the machinery is completely powered down and disconnected from any energy sources to prevent accidents.
2. Drain the Fluid If applicable, drain any fluid from the system to avoid spills and facilitate easier access to the impeller.
3. Access the Impeller Depending on the design of the machinery, you may need to remove various covers or panels to access the impeller. Follow the manufacturer's instructions for your specific equipment.
4. Remove the Old Impeller Carefully unscrew or unfasten the old impeller. Pay attention to any seals or gaskets that need to be replaced, as these are critical for preventing leaks.
5. Install the New Impeller Position the new impeller in place. Ensure that it aligns correctly with the motor or pump shaft and that any fasteners are tightened to the manufacturer’s specifications.
6. Reassemble the Machinery Replace any covers or panels that were removed during the process. Reinstall any seals or gaskets as needed.
7. Test the System Once everything is back in place, refill the system with fluid (if applicable) and run the machinery to ensure that the new impeller is functioning correctly. Monitor for any unusual noises or vibrations.
Conclusion
Replacing an impeller is a crucial maintenance task that ensures the longevity and efficiency of your machinery. By recognizing the signs of a failing impeller and following a systematic replacement process, you can keep your systems running smoothly. Always refer to the manufacturer's guidelines for specific instructions related to your equipment, and when in doubt, consult with a professional technician. Regular maintenance not only prolongs the life of your machinery but also enhances operational efficiency.
-
Understanding Metal Casting TechniquesNewsApr.02,2025
-
Understanding Exhaust Manifolds for Enhanced Engine PerformanceNewsApr.02,2025
-
The World of Metal FabricationNewsApr.02,2025
-
Key Components for Pump and Turbo EfficiencyNewsApr.02,2025
-
Essential Tools for Automotive Maintenance and RepairNewsApr.02,2025
-
Durable Valve Components for Effective Water ManagementNewsApr.02,2025

