Mobile:+86-311-808-126-83
Email:info@ydcastings.com

Techniques for Creating Hollow Cast Objects in Various Materials
How to Cast Hollow Objects A Comprehensive Guide
Casting hollow objects is a fascinating process that combines art and science, allowing creators to produce intricate designs and functional items. Whether you are an experienced artisan or a beginner exploring this technique, understanding the essentials of hollow casting is crucial. This article will guide you through the fundamental steps and considerations involved in casting hollow objects.
Materials and Tools
Before delving into the casting process, it's essential to gather the necessary materials and tools. Depending on the medium you choose—be it metal, resin, or plaster—you will need specific materials
1. Molds Molds can be made from silicone, metal, or even plaster. For hollow objects, creating a two-part mold is common; this allows for easy removal of the cast once cured.
2. Casting Material Depending on your project, you may choose resin, plaster, concrete, or metal. Each material has its unique properties and curing times that will affect your final product.
3. Release Agents To ensure that your casting material doesn’t stick to the mold, a release agent is necessary. Common choices include petroleum jelly, silicone spray, or commercial mold release products.
4. Mixing Tools If using resin or plaster, you will need mixing cups, sticks, and possibly a scale for accurate measurements.
5. Safety Gear Always prioritize safety by wearing gloves, goggles, and a mask if you are working with fumes or dust.
Creating the Mold
The first step in casting hollow objects is creating the mold. A two-part mold is ideal for hollow shapes. To create the mold
1. Modeling Start by sculpting your original object (the pattern) from clay, wax, or any material. This object will form the cavity of your mold.
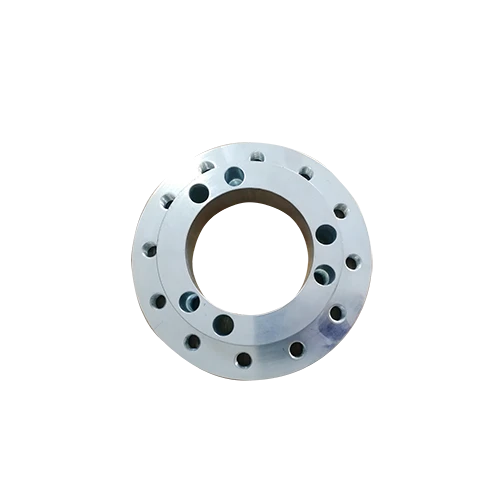
how to cast hollow objects
2. Mold Making Coat the pattern in a release agent to ensure easy removal later. Next, pour your chosen mold material around the pattern. Once the first half is set, attach the second half, ensuring the two halves align perfectly. After curing, carefully remove the mold from the pattern.
Casting the Object
With your mold ready, it's time to cast your hollow object
1. Preparing the Mold Clean the mold thoroughly to remove any residue. Apply a release agent to ensure a smooth release later.
2. Mixing the Casting Material Follow the manufacturer’s instructions for mixing the casting material. If you are using resin, ensure it is thoroughly mixed to avoid any bubbles.
3. Pouring Carefully pour the casting material into the mold. For hollow objects, you may need to fill the mold partially, then rotate it to coat the interior, ensuring all surfaces are covered.
4. Curing Allow the material to cure as per the manufacturer’s instructions. The time can vary significantly based on the material and environmental conditions.
Finishing Touches
Once the casting material has fully cured, gently remove the mold. Inspect the object for any imperfections and sand or carve as needed. If working with resin or certain metals, polishing can enhance the final appearance.
Conclusion
Casting hollow objects offers limitless creative possibilities. By understanding the processes—mold making, pouring, and finishing—you can produce beautiful and functional pieces that showcase your artistic vision. Whether for art, industry, or personal use, mastering this technique will enhance your skills and open new avenues for your creative endeavors. Happy casting!
-
Understanding Metal Casting TechniquesNewsApr.02,2025
-
Understanding Exhaust Manifolds for Enhanced Engine PerformanceNewsApr.02,2025
-
The World of Metal FabricationNewsApr.02,2025
-
Key Components for Pump and Turbo EfficiencyNewsApr.02,2025
-
Essential Tools for Automotive Maintenance and RepairNewsApr.02,2025
-
Durable Valve Components for Effective Water ManagementNewsApr.02,2025


