Mobile:+86-311-808-126-83
Email:info@ydcastings.com
Steps for Successfully Casting Aluminum at Home
How to Cast Aluminum A Comprehensive Guide
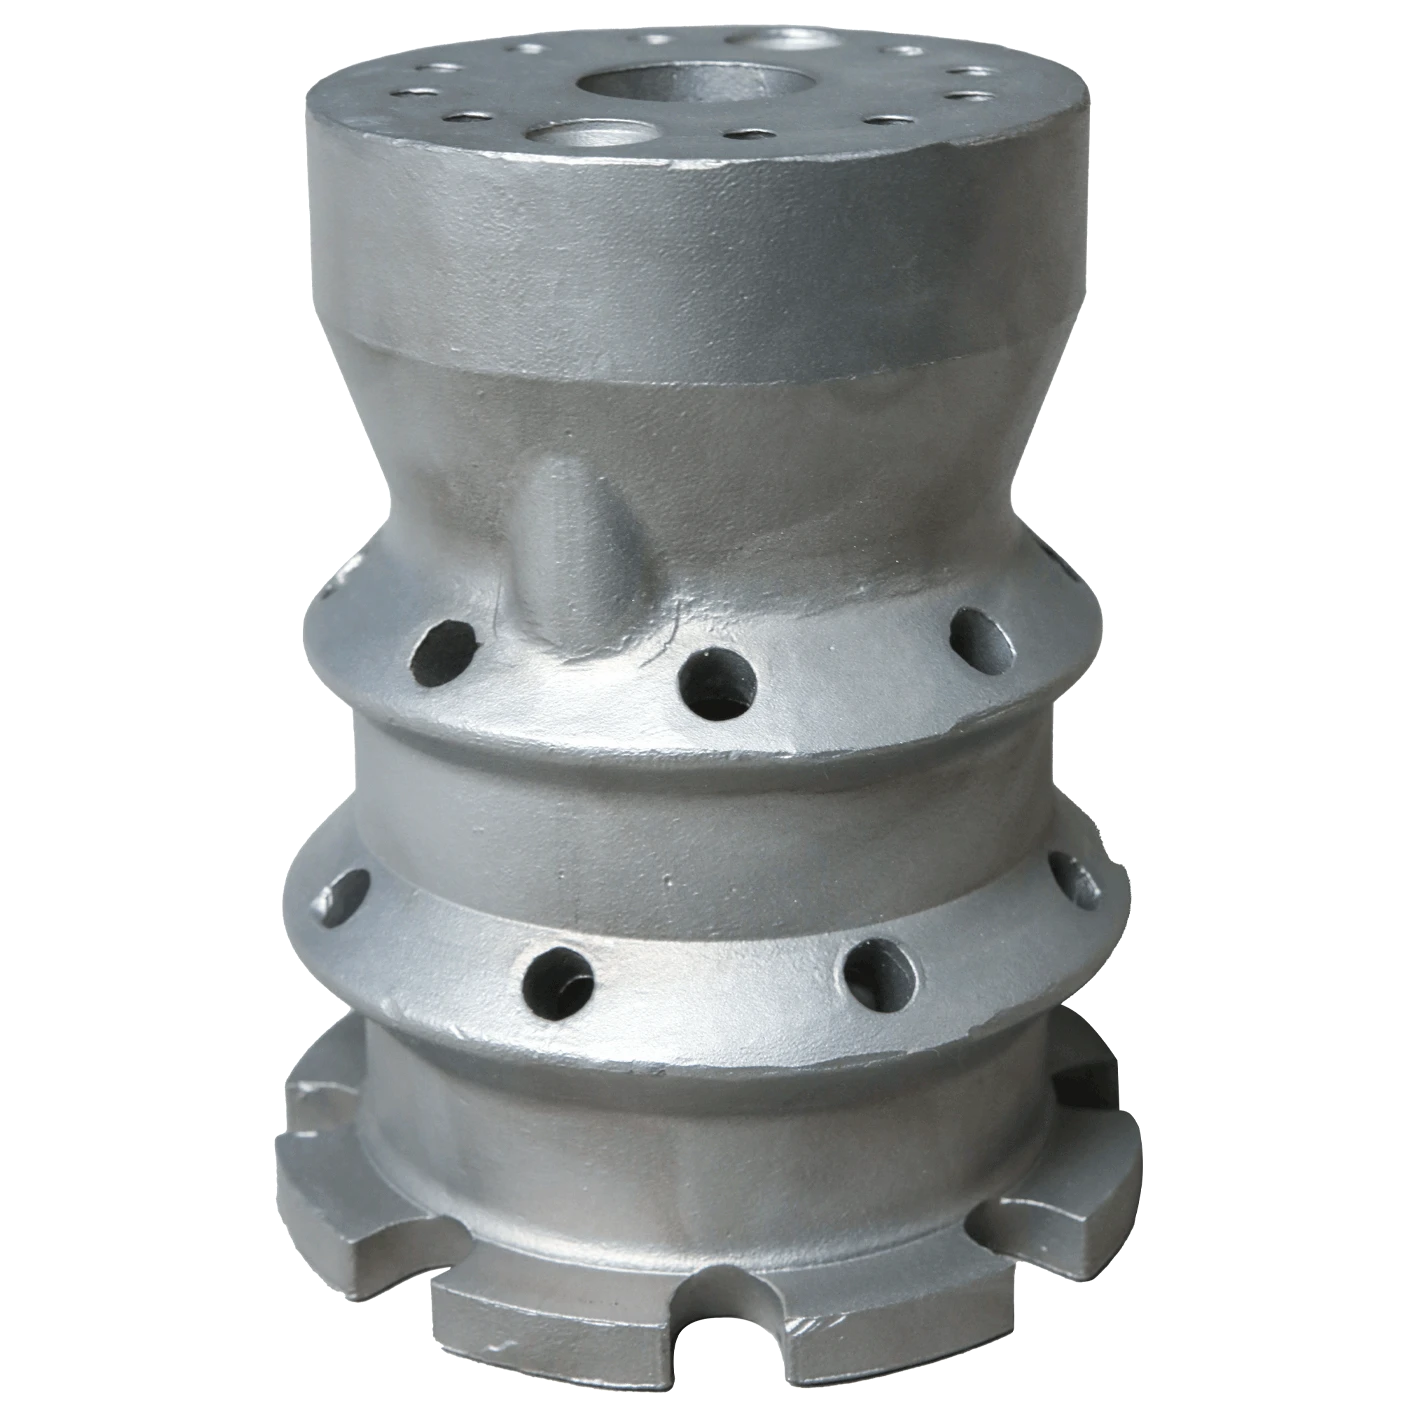
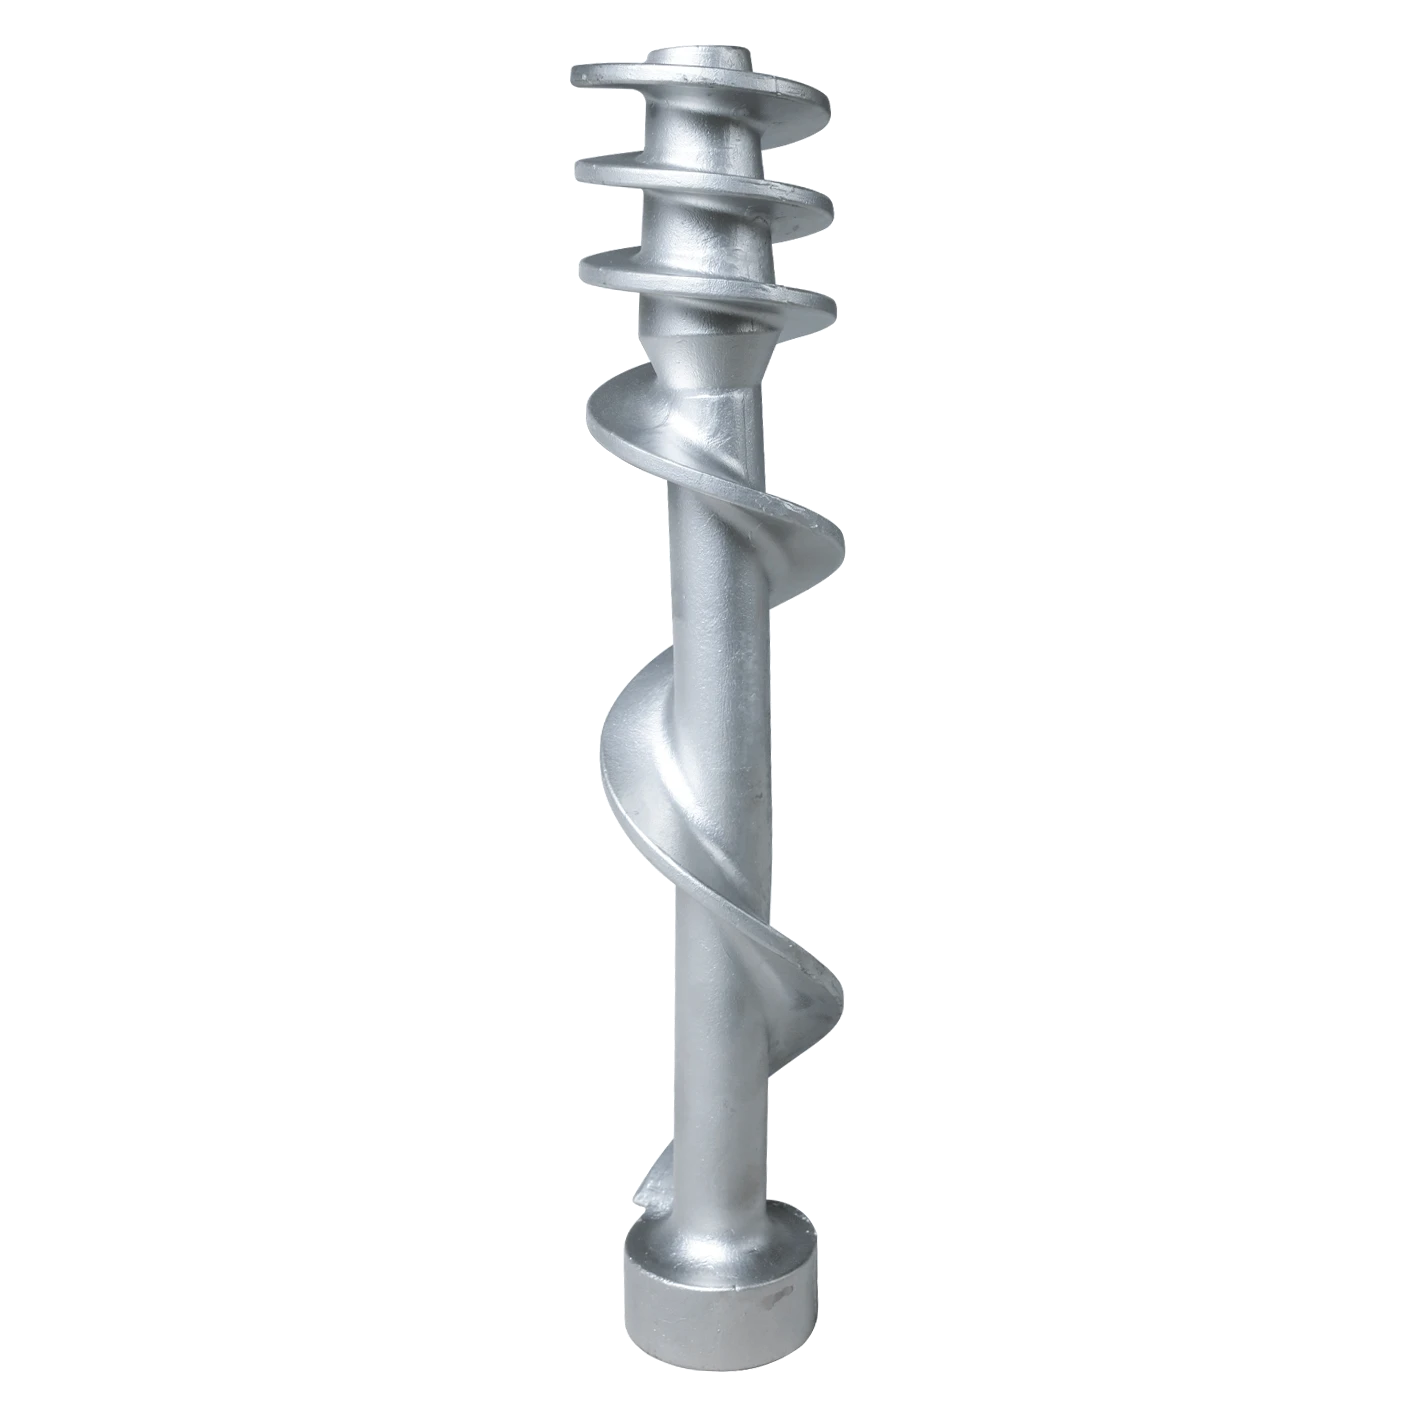
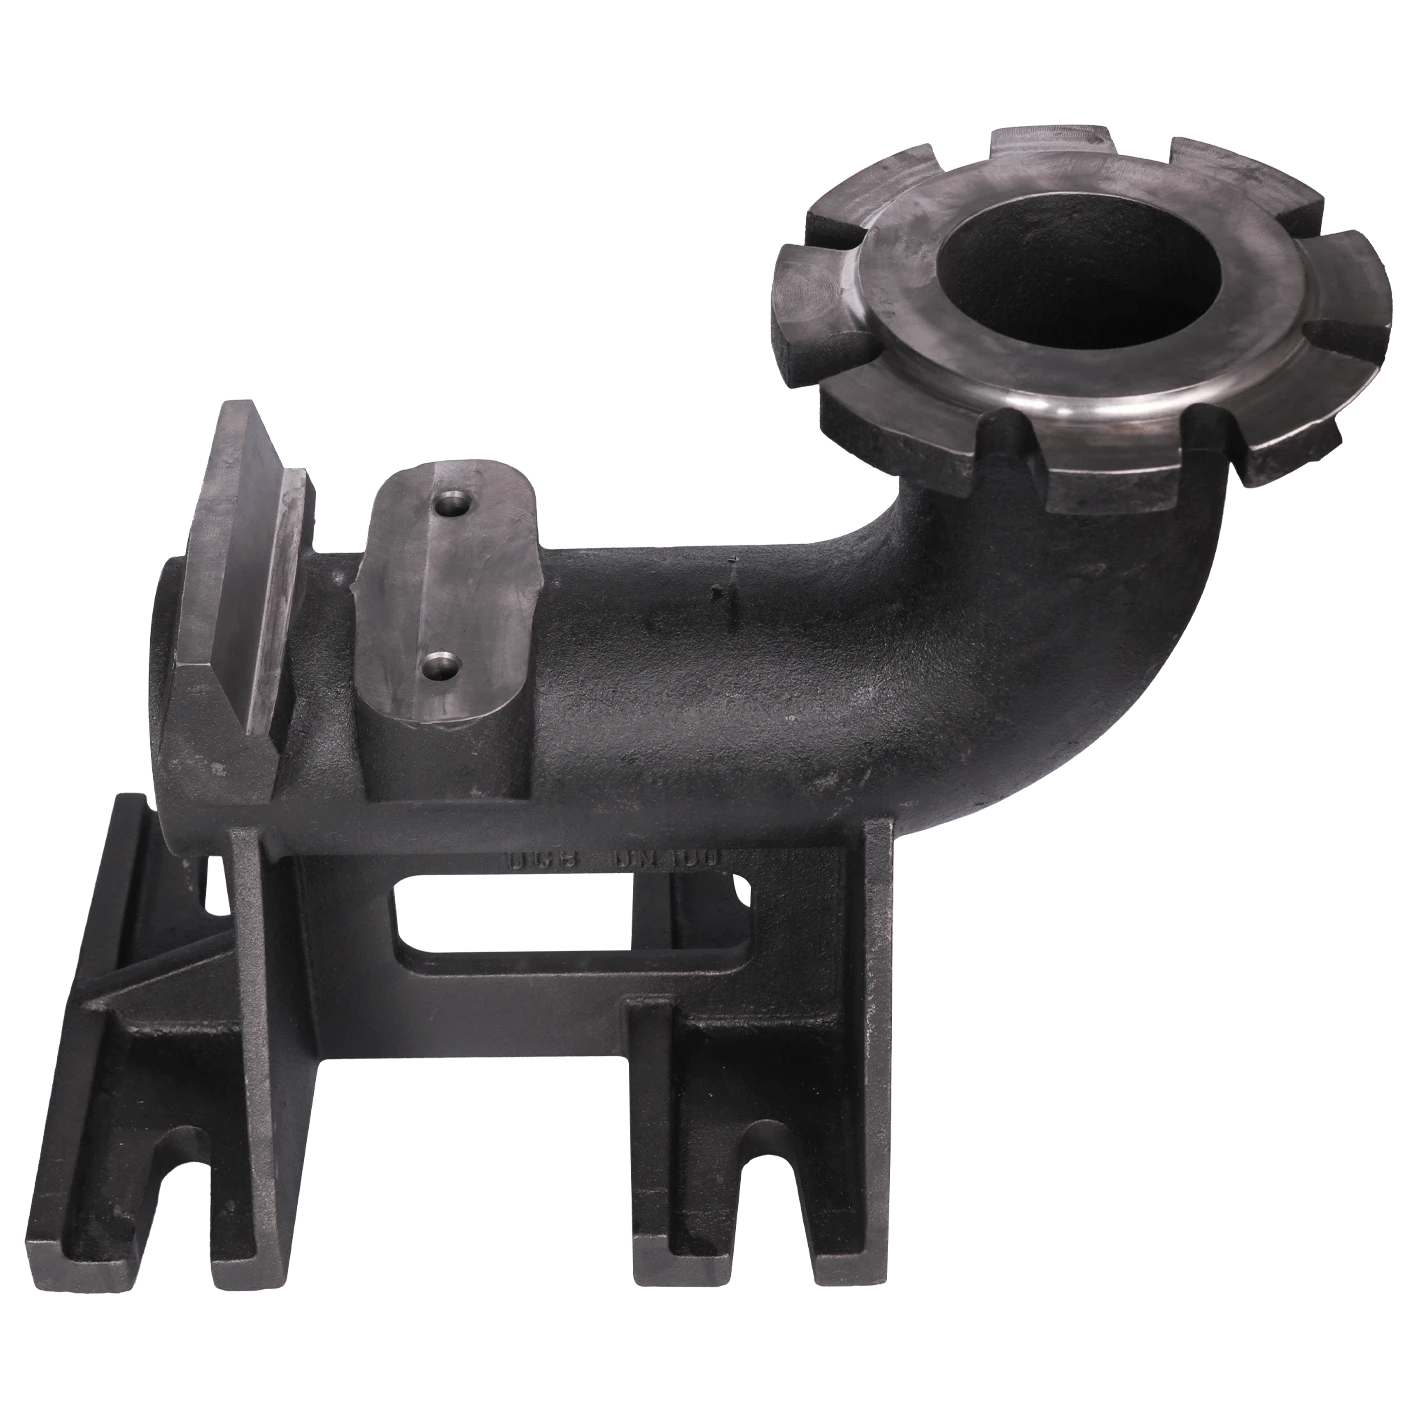
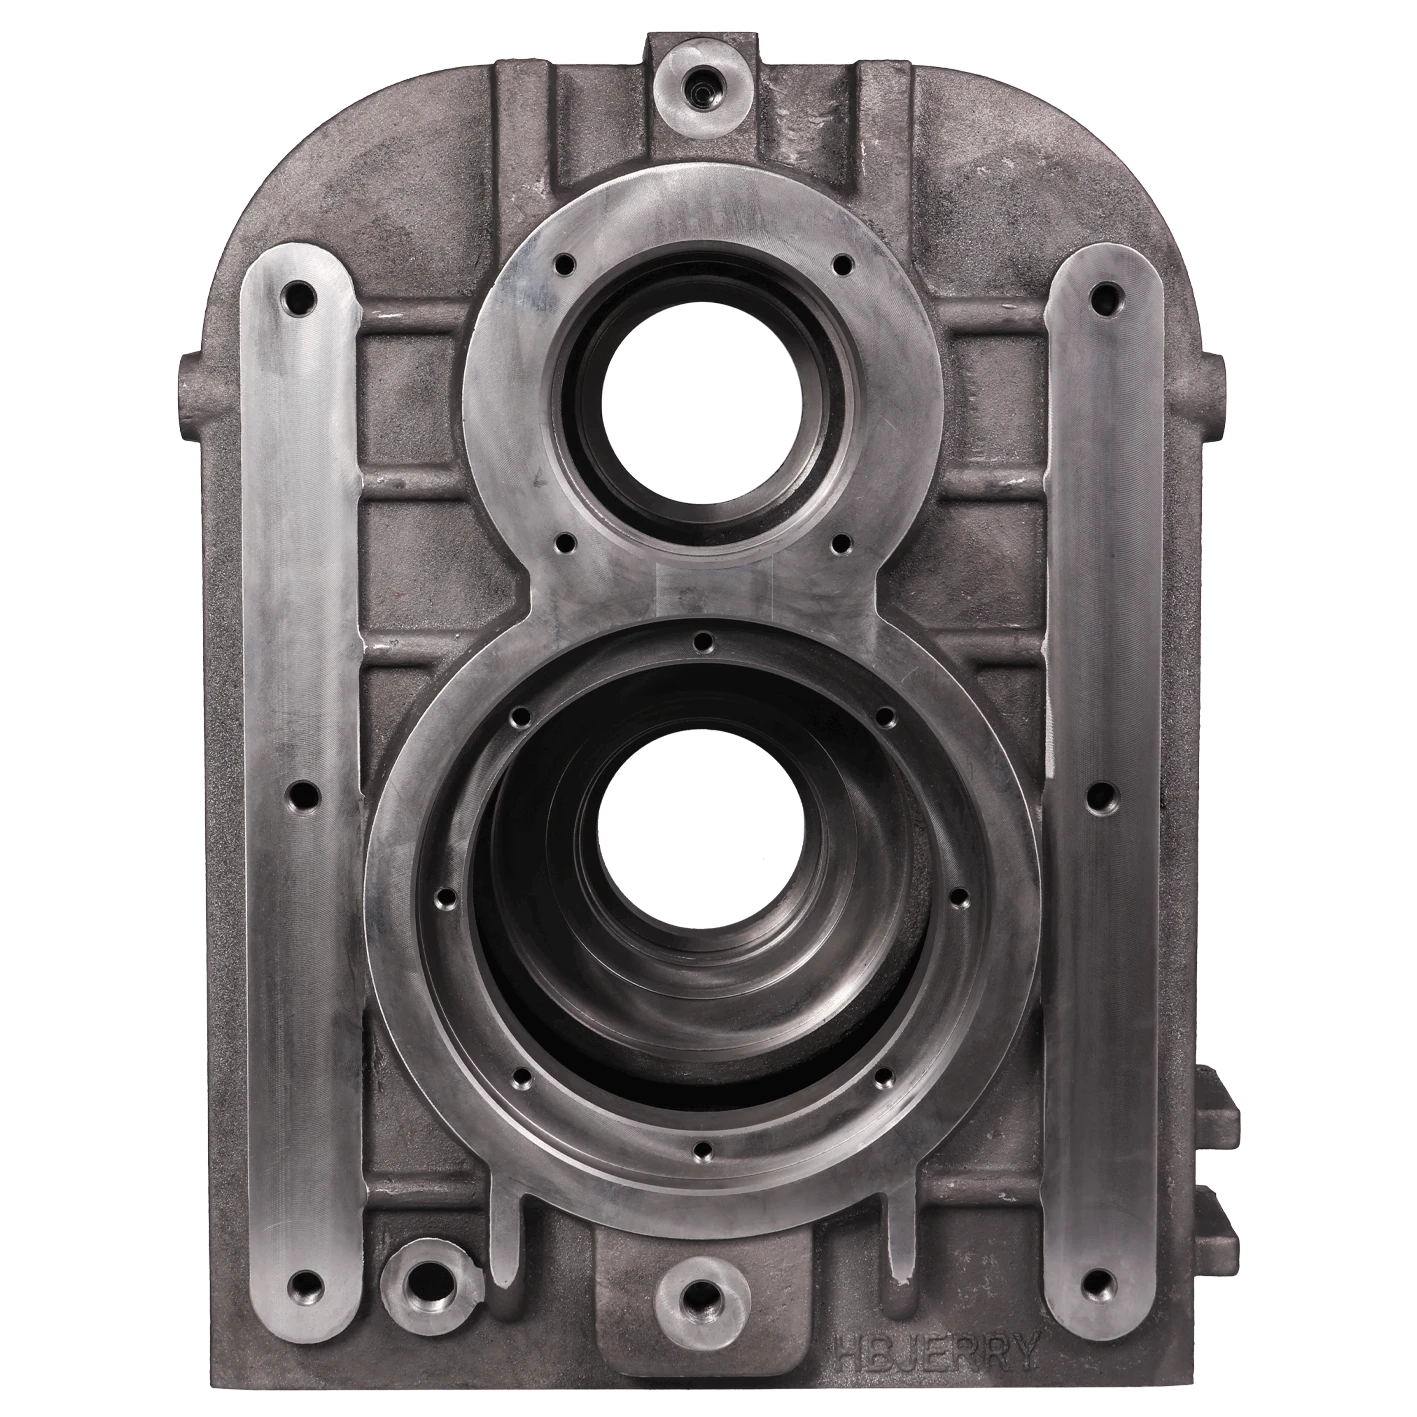
Aluminum casting is a popular manufacturing technique used to create a wide variety of parts and components. It involves pouring molten aluminum into a mold, where it solidifies into the desired shape. This process is favored in industries like automotive, aerospace, and consumer goods due to aluminum's lightweight, corrosion-resistant, and strong properties. This article will guide you through the essential steps in casting aluminum.
1. Understand the Basics of Aluminum Casting
Before starting, it’s important to familiarize yourself with different aluminum casting methods. The primary methods include sand casting, die casting, and permanent mold casting. Sand casting is widely used for making large or complex shapes since it allows for greater flexibility in design. Die casting, on the other hand, is ideal for producing high-volume parts with tight tolerances.
2. Gather Required Materials and Tools
To cast aluminum, you need specific materials and tools. Essential items include
- Aluminum alloy (commonly A356 or A380) - A furnace (gas, electric, or crucible furnace) - Molds (made of sand, metal, or ceramic) - Pouring ladle - Safety equipment (gloves, goggles, and protective clothing) - A thermometer to monitor metal temperature
Ensure you have a safe working environment, as handling molten metal poses significant hazards.
Mold preparation is critical for successful casting. If you’re using sand casting, begin by forming a mold from a sand mixture that can withstand the heat of molten aluminum. This process typically involves packing sand around a pattern that represents the part you want to create. For die casting, you’ll need a precision-engineered metal die. Ensure that the mold is properly treated to facilitate easy removal of the cast part.
how to cast aluminum

4. Melting the Aluminum
Next, the aluminum must be melted. Place the aluminum pieces in the furnace and heat them to approximately 1200°F (650°C). It’s crucial to monitor the temperature closely to avoid overheating, which can lead to oxidation or contamination of the aluminum. Once the metal has completely melted, it should be free of impurities; skimming off any dross (oxidation layer) that forms on the surface is essential for obtaining a high-quality cast.
5. Pouring the Molten Aluminum
Once the aluminum is molten and ready, carefully pour it into the mold using a ladle. It’s important to pour slowly and steadily to avoid creating air bubbles or splashes. Fill the mold to the top to ensure there are no voids in the final casting. The pouring should be done at the right temperature and speed for optimum results.
6. Allow the Cast to Cool
After pouring, let the aluminum cool and solidify in the mold. Cooling times can vary depending on the thickness and size of the cast, but it typically takes anywhere from a few minutes to several hours. It’s important not to rush this process, as removing the casting too early can result in defects.
7. Finishing Touches
Once cooled, remove the mold and inspect the cast for any imperfections. You may need to perform secondary operations such as grinding, machining, or polishing to achieve the final finish required for your part.
Conclusion
Casting aluminum is a rewarding process that, when done correctly, can yield high-quality products. By following these steps and prioritizing safety, you can successfully cast aluminum components for various applications. Whether you're a hobbyist or an industrial manufacturer, mastering aluminum casting techniques will enhance your capabilities and open up new possibilities in your projects.
-
Understanding Metal Casting TechniquesNewsApr.02,2025
-
Understanding Exhaust Manifolds for Enhanced Engine PerformanceNewsApr.02,2025
-
The World of Metal FabricationNewsApr.02,2025
-
Key Components for Pump and Turbo EfficiencyNewsApr.02,2025
-
Essential Tools for Automotive Maintenance and RepairNewsApr.02,2025
-
Durable Valve Components for Effective Water ManagementNewsApr.02,2025

