Mobile:+86-311-808-126-83
Email:info@ydcastings.com
Italian
Steps Involved in the Sand Casting Process for Metal Casting Applications
The Steps of Sand Casting A Comprehensive Overview
Sand casting is one of the oldest and most versatile metal casting processes, commonly utilized in various industries for its efficiency and cost-effectiveness. With roots tracing back to ancient civilizations, this technique allows for the manufacturing of complex metal parts with relative ease. Understanding the steps involved in sand casting can provide insights into its effectiveness and application in modern manufacturing.
Step 1 Pattern Making
The first step in the sand casting process is the creation of a pattern. A pattern is a replica of the object to be cast and can be made from various materials, including wood, metal, or plastic, depending on the required precision and durability. Patterns can be single-part or multi-part, and they feature allowances for shrinkage, machining, and draft. The accuracy of the pattern significantly influences the quality of the final cast piece.
Step 2 Mold Preparation
Once the pattern is ready, the next step is to create a mold. This involves placing the pattern in a box known as a flask, which holds the sand used for molding. The sand is typically mixed with a binder to improve its cohesive properties. The mixture is then packed around the pattern to form the mold. After compressing the sand sufficiently, the pattern is removed, leaving a cavity that replicates its shape. Two halves of the mold are usually created, making it easier to pour the molten metal later.
Step 3 Core Making (if necessary)
For more complex shapes, cores may be added to the mold. Cores are additional pieces made from sand and are used to create internal features or hollow sections in the cast piece. This step involves shaping the core in a similar manner to the mold, and it is often secured in place before the final mold halves are put together.
Step 4 Mold Assembly
After preparing the mold and any necessary cores, the next step is to assemble the mold halves. The two halves are carefully aligned and held together with pins or clamps to prevent them from separating during the pouring process. At this stage, any necessary gating systems or risers are also incorporated. Gating systems are channels through which molten metal flows into the mold, while risers help capture excess metal that may be needed to compensate for shrinkage as the metal solidifies.
Step 5 Melting the Metal
sand casting steps
With the mold set, the next step is to prepare the metal for pouring. Depending on the requirements of the project, various types of metals can be used, including aluminum, iron, and bronze. The metal is melted in a furnace at the appropriate temperature to achieve a liquid state. This process may involve the use of different melting techniques, such as electric arc or induction melting, depending on the metal type and desired outcome.
Step 6 Pouring
Once the metal has reached the proper temperature, it is time to pour it into the mold. The molten metal is carefully poured through the gating system, filling the cavity created by the mold and the core. Precise pouring techniques are essential to avoid defects such as air pockets or gas entrapment, which can compromise the quality of the casting.
Step 7 Cooling and Solidification
After the mold is filled, the metal is left to cool and solidify. The cooling time can vary depending on the metal used and the thickness of the casting. As the metal cools, it shrinks slightly, which is why risers and the gating system are crucial. They help manage this shrinkage and ensure that the mold retains the integrity of the final shape.
Step 8 Mold Removal
Once the metal has cooled and solidified, the mold halves are separated, and the casting is removed. This process may involve knocking off the sand mold or using mechanical means to extract the cast part. Any attached sand is removed as part of the finishing process.
Step 9 Finishing Touches
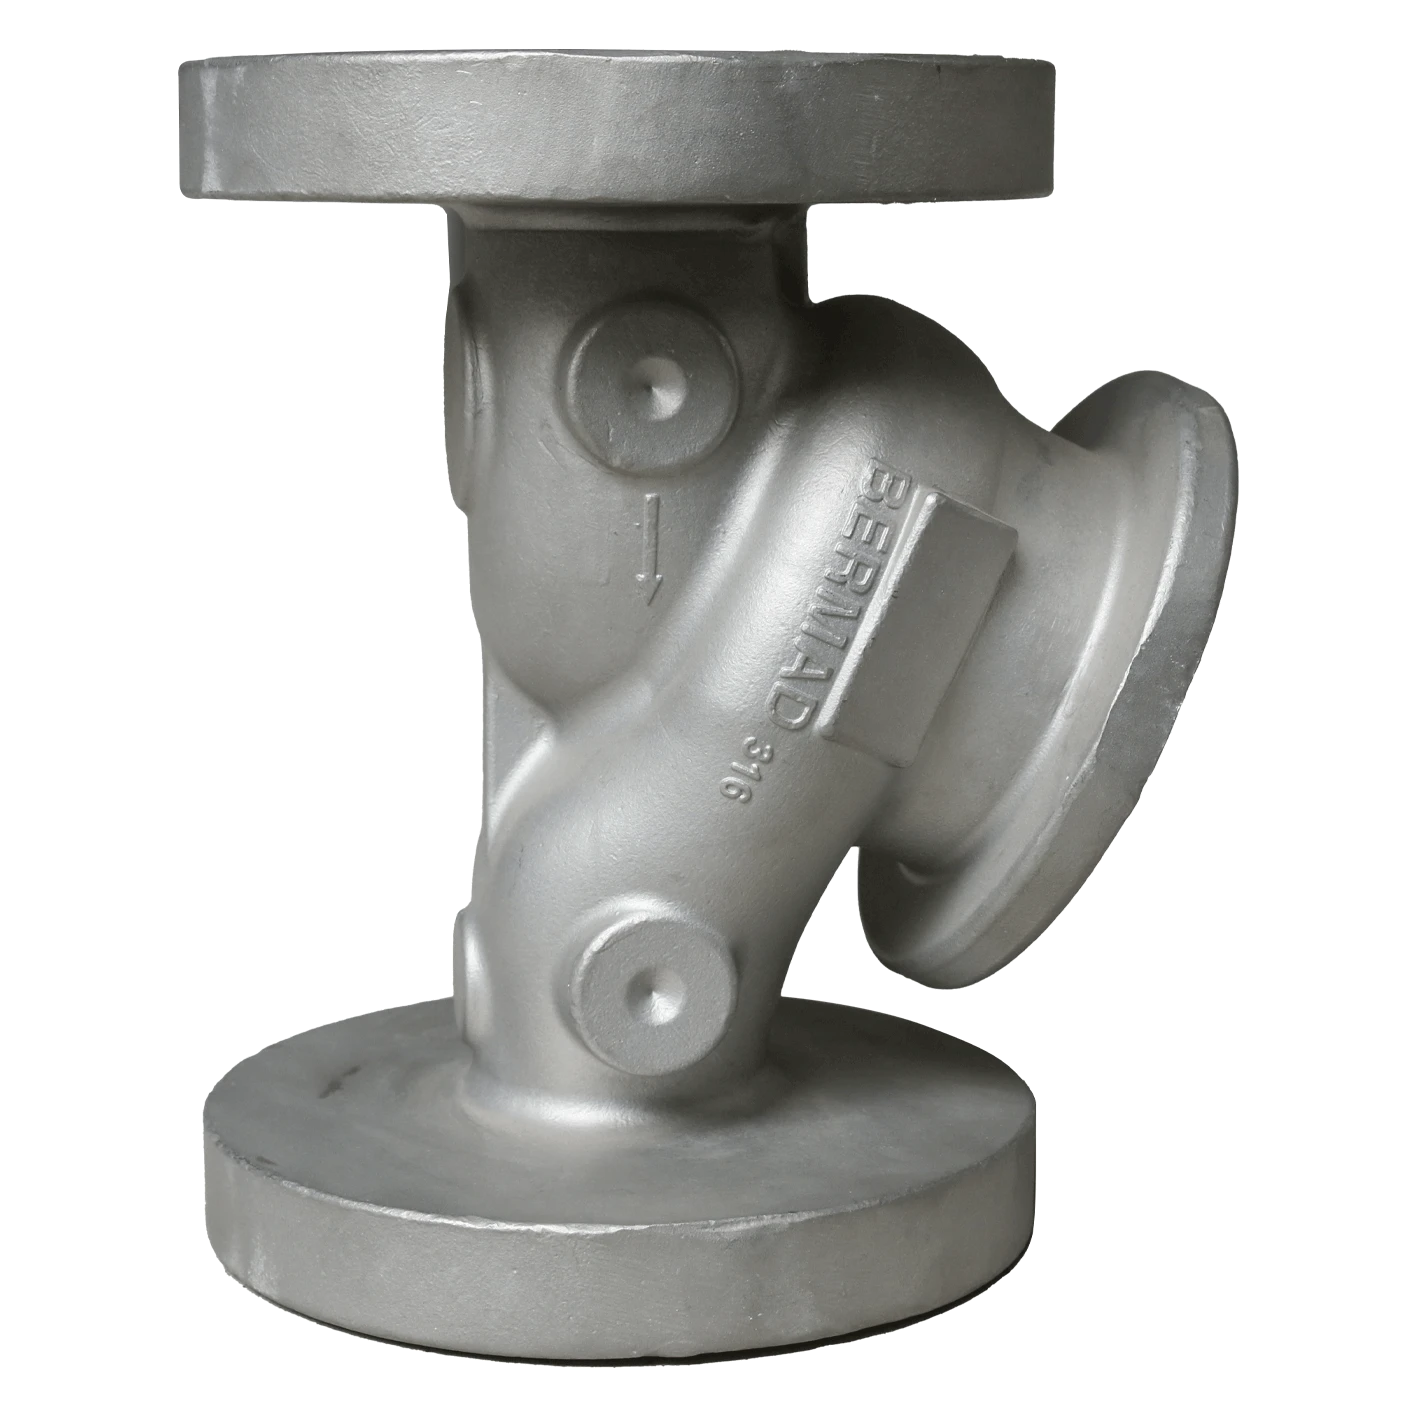
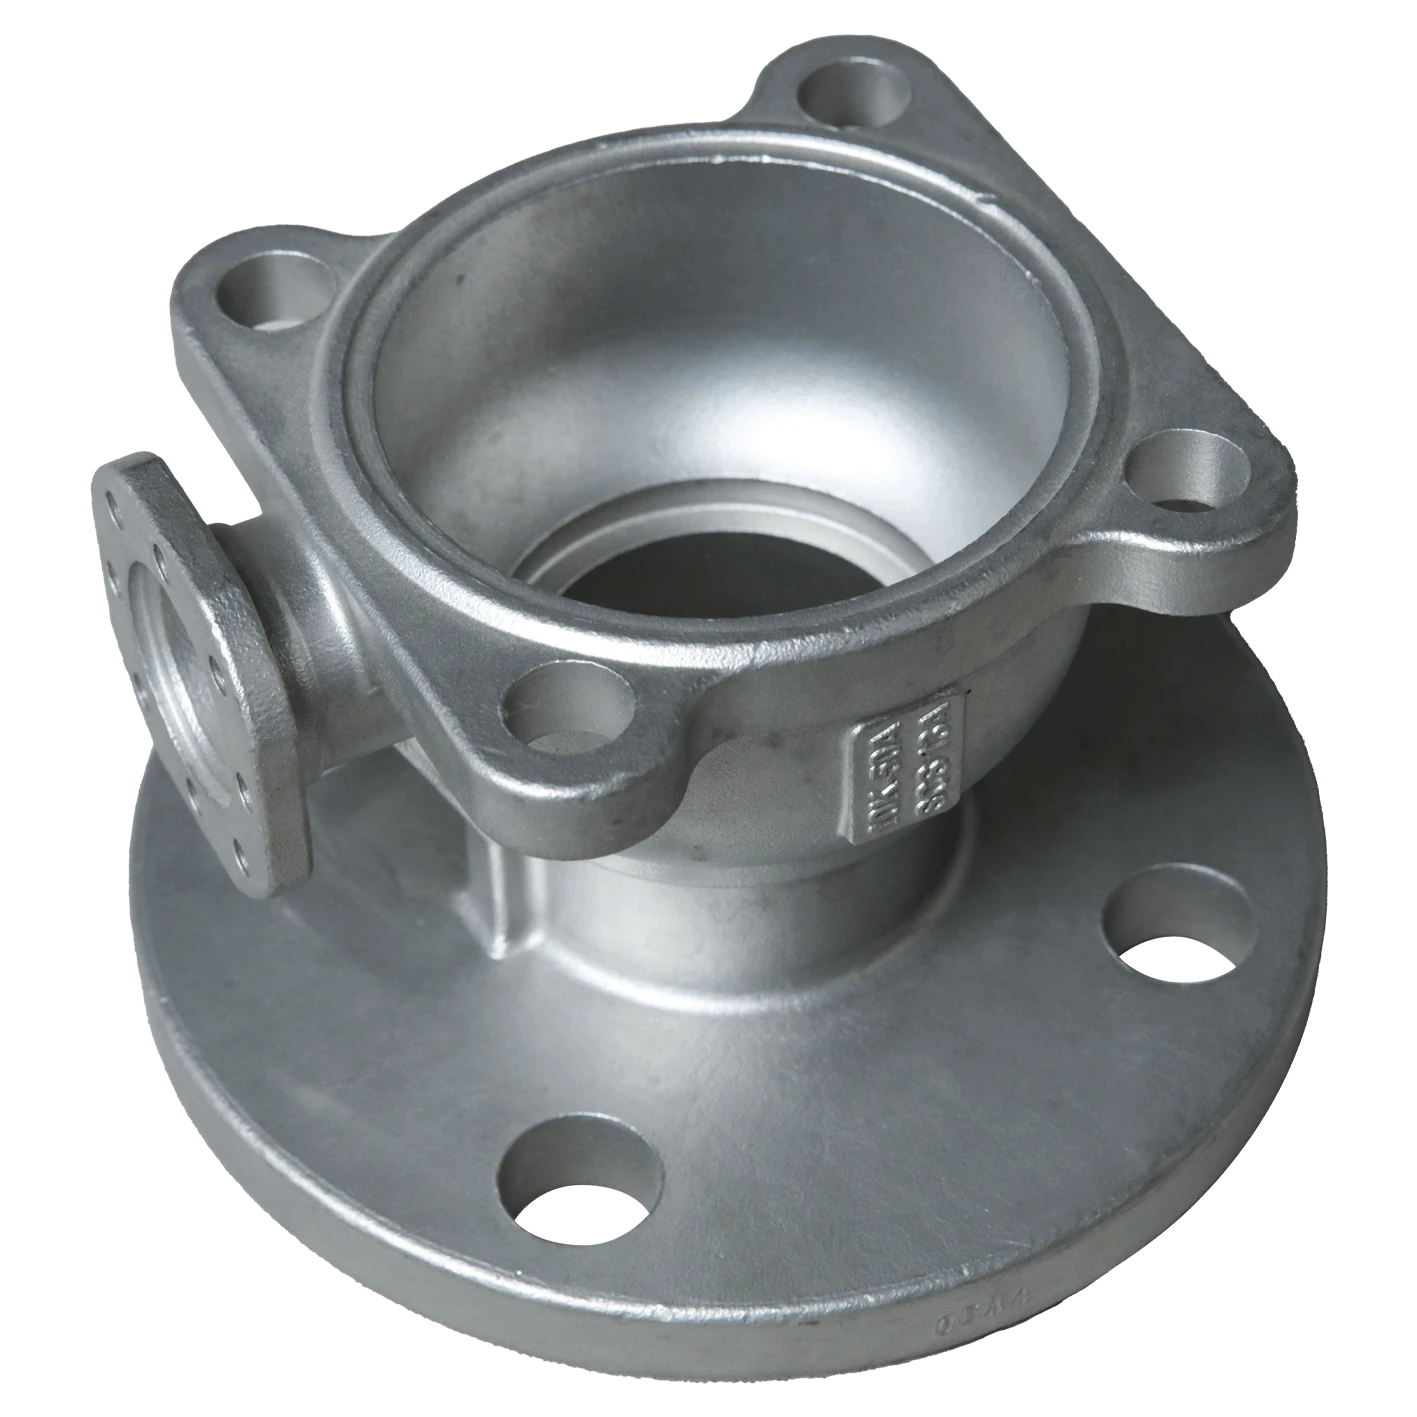
The final step in the sand casting process involves finishing the cast part. This may include machining, grinding, or polishing to achieve the desired surface finish and tolerances. Additional treatments like heat treatment may also be employed to enhance mechanical properties.
Conclusion
In conclusion, sand casting is a time-tested method for producing a wide range of metal components. Each step in the process, from pattern making to finishing, plays an essential role in ensuring the quality and functionality of the final product. As industries continue to evolve, the adaptability and efficiency of sand casting remain a vital aspect of metalworking technology.

